Techniques
Homemade Stock: Turn Your Peelings Into Culinary Gold
Most cooks throw away exactly what makes a perfect stock. Peels, bones, trimmings: one session a week is enough to build a base that changes everything.
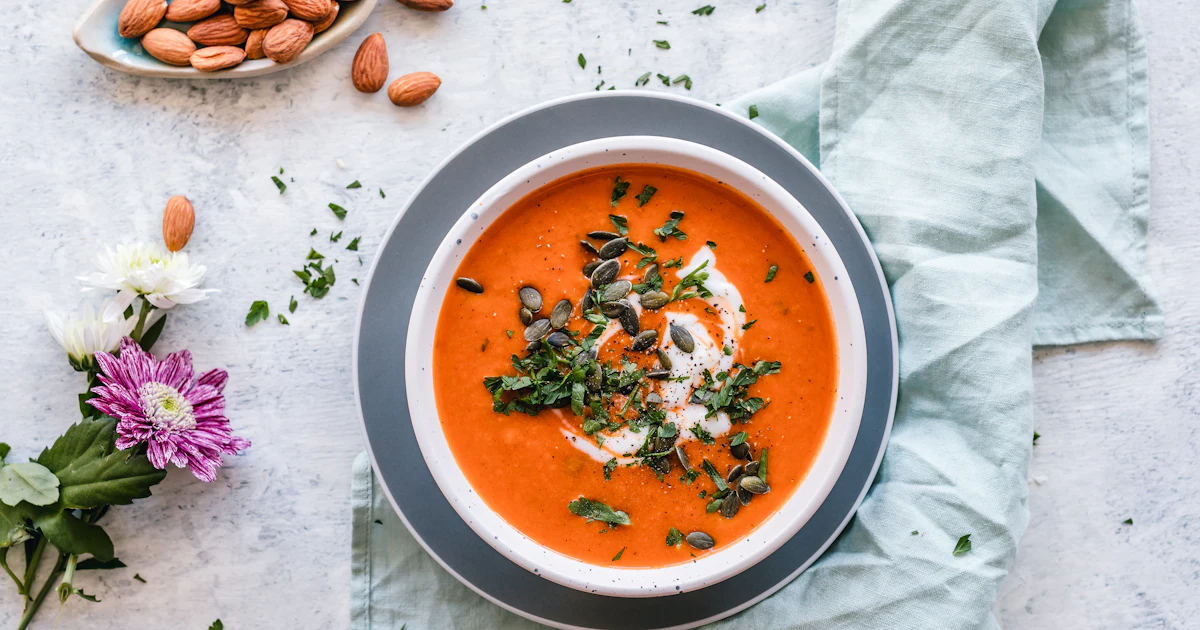
A few years ago I had a habit I've since dropped entirely: rinsing carrot peelings under the tap, then tossing them in the trash. Along with mushroom stems, parsley stalks, the chicken carcass after Sunday's roast. All of it went out the door, and I kept buying bouillon cubes whose ingredient list read like a tax form.
Homemade stock is precisely what those scraps became in another life.
The freezer bag method
The principle is simple: one big Ziploc bag in the freezer, and everything goes straight in. Carrot and onion peels, parsley stems, Parmesan rinds, chicken bones, fish bones if you like fish stock. For two to three weeks, you keep filling it. Then, one Sunday afternoon, you do a two-hour stock session during which you have almost nothing to do.
What changes everything is how you prepare the bones. Before putting them in the water, roast them at 400°F (200°C) for 25 minutes. They brown, caramelize slightly, and develop the Maillard flavors that make the difference between a pale broth and a real brown stock with character. For a lighter chicken stock, skip this step.
The golden rule: start with cold water
Starting with cold water isn't an old chef's whim. When you put bones in cold water and bring it up to temperature gradually, the proteins coagulate slowly and migrate into the liquid in an orderly way. The result is a clear stock. If you start with boiling water, the proteins seize instantly on the outside and stay trapped in the bones. Less extraction, cloudy stock.
The ratio that works: 1 quart of water (1 liter) for about 10 oz (300 g) of bones and vegetables combined.
The scum of the first twenty minutes
During the first twenty minutes after it comes to a boil, a grayish scum rises to the surface. Really remove it, with a ladle or a spoon. It's denatured protein and impurities. If you leave it, it gets redistributed through the stock and gives it a slightly bitter taste and, above all, a cloudy color.
Once the scum is gone, lower the heat to a simmer, around 195°F (90°C). Never a hard boil during cooking: the fat emulsifies into the liquid and you end up with a greasy, cloudy stock that will never clear up. A simmer is three small bubbles per second in one corner of the pot, no more.
Cooking times by type of stock
Vegetable stock: 45 minutes is plenty. Beyond that, some vegetables release bitter notes. Chicken stock: 2 1/2 to 3 hours. Brown veal or beef stock: 4 to 6 hours, sometimes more for professional cooks.
The mistake everyone makes: salting too early
Stock reduces as it cooks. If you salt along the way to your taste, you end up with something inedible after reduction. The rule: salt only when you use it, never while the stock itself is cooking.
Storage
Five days in the refrigerator in an airtight container. Six months in the freezer. The ice cube technique is the most practical: pour the cooled stock into ice cube trays, freeze, then move the cubes to a bag. You portion on demand, without thawing a whole quart to use 3 1/2 fl oz (100 mL).
Once you have homemade stock in the freezer, you look at recipes differently. A watery sauce becomes a sauce with some body. A mediocre risotto becomes a decent one. And your peelings have finally found a destination worthy of what they were worth.